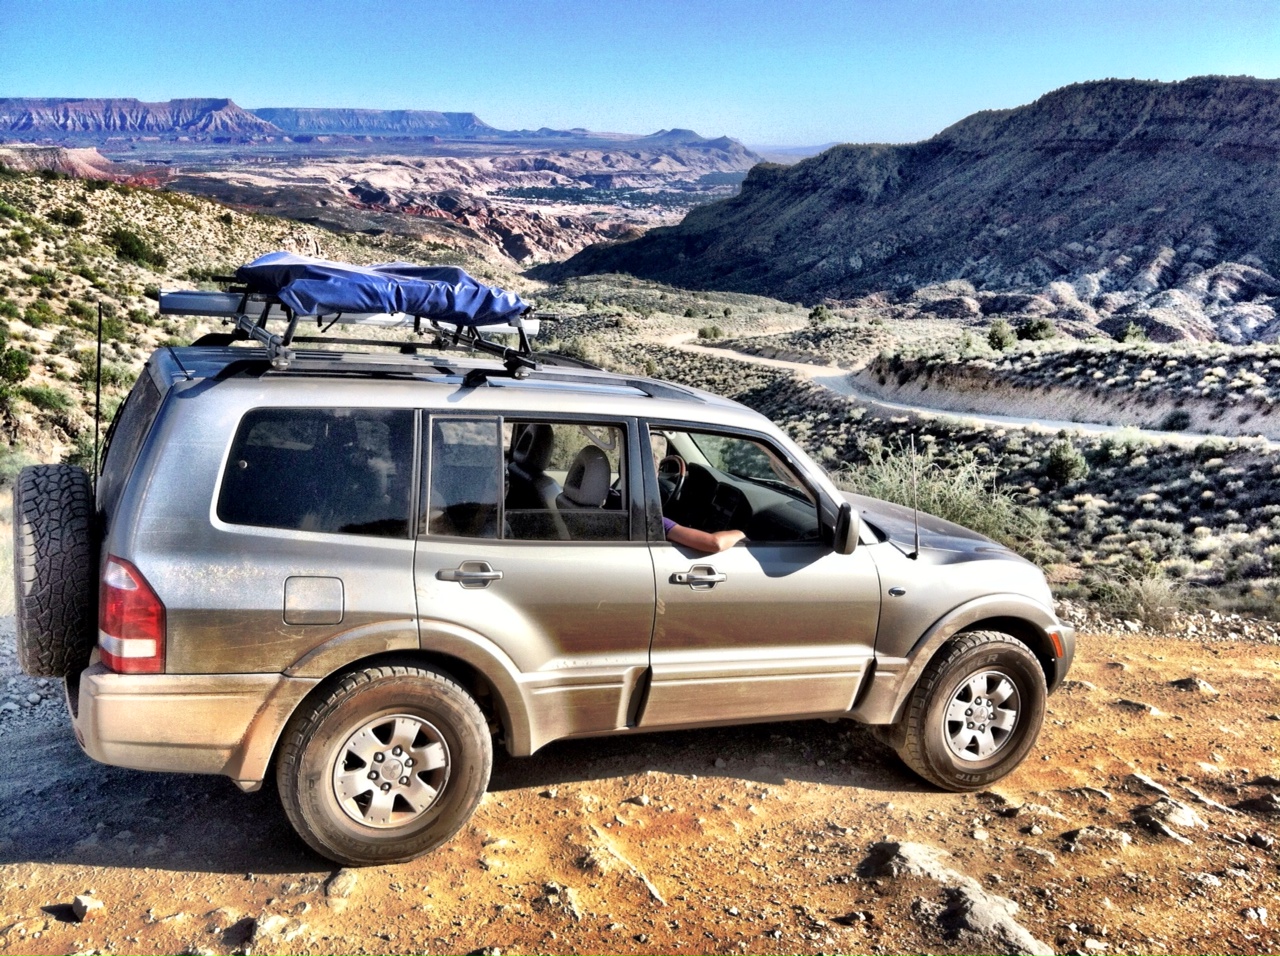
We’re driven in offroad adventuring, it seems, by two forces; the ego, and the land. It’s been my experience that answering the call of the wild is much less expensive. That call should be in the interrogative, questions anyone taking a vehicle offroad needs to consider. I explore in an area with surfaces that range from slickrock to sand and everything in between; ruttedout mud tracks, limestone steps, forest compost layered over basalt – it’s all here, and I have the luxury of having it all minutes from my front door.
It’s the lab through which my bonestock rig proved its abilities and disclosed its shortcomings in interfacing with Mother Nature. It’s where I spent much time studying suspension travel, clearance, crossaxle characteristics (different for a solid axle rig versus an independently suspended one), approach and departure angles, and getting torque to the ground. I drive a rig with a stock limited slip and traction control so I put that through its paces as well, learning its nuances.
What I found is that in stock form my rig could navigate most surfaces well, it was my shortcomings as a pilot that I needed to improve. The more I practiced, and the more we explored, pushing the envelope in frozen river crossings, sandy inclines, and rutted berms, the mechanical shortcomings became categorized into traction, protection and extraction, areas that, depending on your rig, may need some attention in preparing for offroad excursions.

Traction
Experience has made me appreciate that the best and perhaps most important money I could
spend is on skin, my rig’s connection to the earth and my ability to get me and my pillions from one point to another safely. My first upgrade to stock diameters was going a plus-one size, bringing my tire diameter to 30”. This gave me a little higher approach, more clearance and a wider patch. The result was grip and traction.
What’s better than grip and traction? More grip and traction, like 33”. I have a mud-rated set mounted on stock steel rims that I now mount for offroad, leaving the 30s for my daily driving. Be sure when you’re shopping out your skins to consider plys and sidewall construction.
Taller diameters and wider patches need more room under the wells, one of three reasons to lift. Vertical wheel travel in the geometry of suspension is critical to flex, the vehicle’s ability to stabilize on highly diverse terrain and crossaxle situations, reason number two. What I discovered in driving my rig was a need for a bit more suspension travel to keep as many turning wheels on the ground as possible giving me stability in distributed torque.
LIfting, though, can come at a price. Your rig left the factory engineered within certain specs. Go beyond those specs and you run the risk of being out of whack. Raising the center of gravity (COG) alters the polar moment of inertia. Done incorrectly, the traction and stopping ability of the vehicle are compromised, because lifting mass makes it more difficult to stabilize. In stock form your rig will stop as it was designed to, maximizing weight distribution and friction at all four corners. Raise the COG without tuning the suspension to compensate, and abrupt stops will transfer the majority of your rig’s weight to the front corners, nullifying the rear axle. The inverse can be said for acceleration in four-wheel drive.
Reason three is increased clearance. Dragging transfer cases and differentials won’t get you anywhere. And that’s a good segue to slipping differentials. Most stock axles use slipping
differentials providing the ability for your drive wheels to rotate at a different revolution when you’re cornering. The problem with this is when the drive wheel gets stuck, the free wheel will, well, freewheel. A limited slip diff distributes torque to both sides of the axle. A locked differential does just that, locks both drive wheels at the same revolution with the same torque.
Protection
Start at the bottom and work up. Skid plates are vital, the athletic cup, if you will, to your vehicle. Chances are your rig shipped with one covering critical areas, many, though, that are made of plastic. Crawl around underneath your rig and check out the vulnerabilities. Transfer cases, service points like zerk fittings, radiator plugs and AC plumbing may not have been engineered with your rock crawling in mind. Engineering attachment points for a homemade skid plate isn’t beyond the scope of a garage mechanic who can use a tap and die kit. I subscribe to a forum for my vehicle where I’ve found measurements and instructions on how to fabricate my own.
While you’re underneath, assess what else might catch on the boulder you dodged with your transfer case. I had a large, round muffler with rightangle ends about nine inches in diameter. This hung lower than anything else underneath and would take a beating if I wasn’t really careful. I replaced it with a smaller glasspack muffler that is tapered on the ends that tucks up nicely in the huge space engineered for the stock muffler.
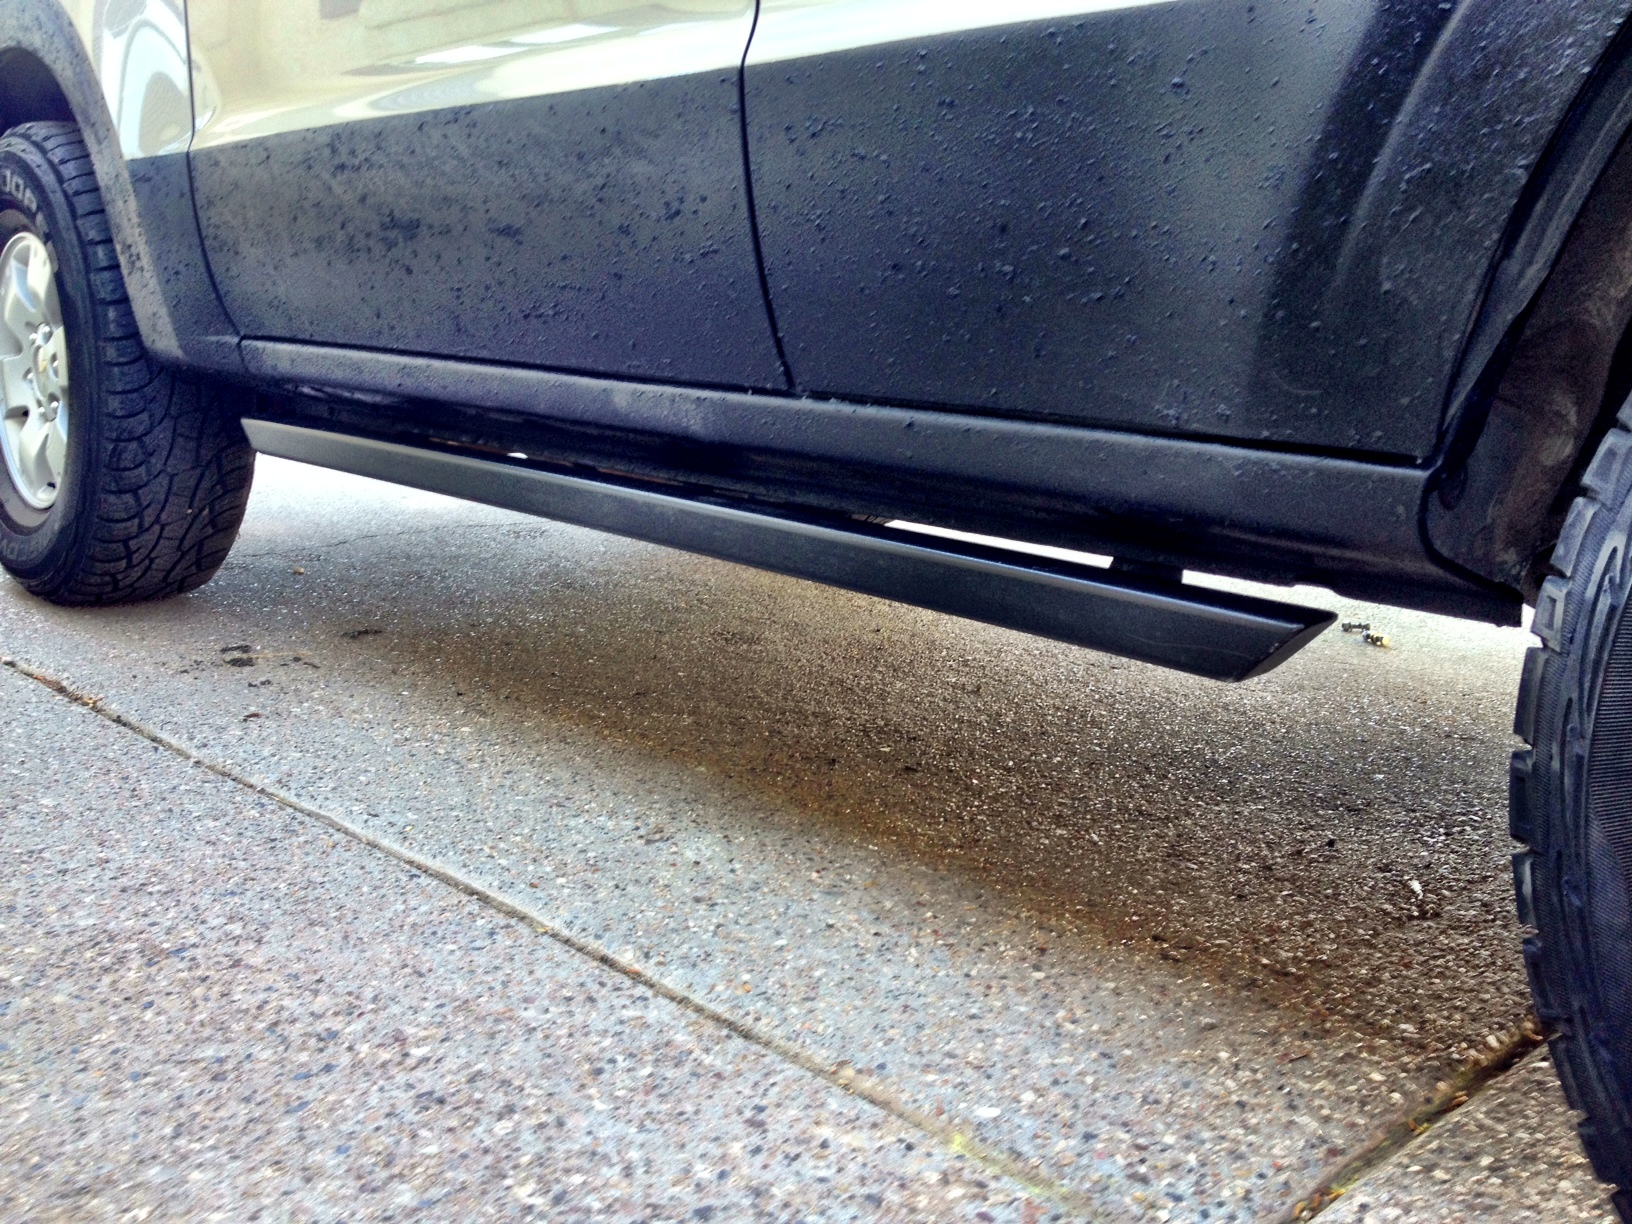
The area just below the door sills is another vulnerable spot. Pop off a boulder and slam the body down on the same and you might find you can’t get your door open. Rock sliders protect this area, taking the beating your rocker panels weren’t engineered to take. Got plastic? If that describes your front end, best to take a look behind it. When I pulled the bumper cover off my rig I was taken aback by the vulnerability of the radiator, and oil and tranny coolers. For most rigs there are several alternatives to add more protection here from customized bumpers to reinforced brush guards.
If you’ve ever failed a climb you’ve become perhaps painfully aware of the effectiveness of your rear bumper as well. What saved my rearend a number of times is the reinforcement from my framemounted trailer hitch, inserted into which is a recovery shackle.
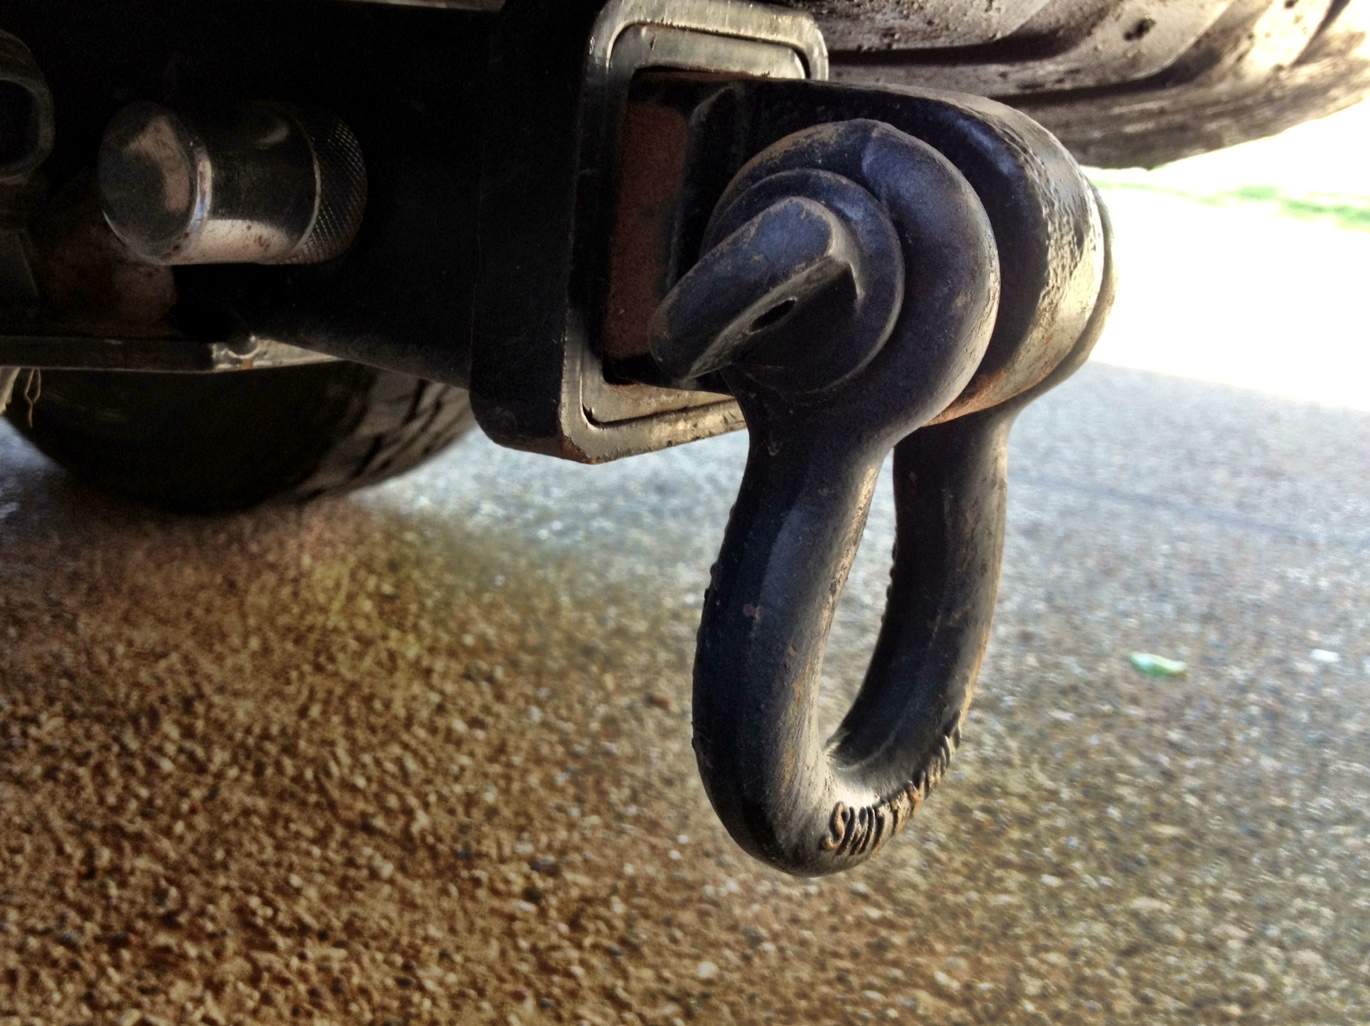
Extraction
We know it as recovery, more of a euphemism for many of us. At the very least, your rig should have recovery points front and back. This is why my receiver hitch has a shackle inserted. While I’ve yet to use it to recover my rig, it’s pulled a number of others free.
More into the self recoveryrealm is the indispensable HiLift Jack. With the correct attachments this tool will get you out of the most serious mire at a third of the cost of a winch. Plus, it always works. Pack along a tree protector strap, a pair of shackles, a couple of lengths of chain, and some work gloves (all of which can be found in their accessory pack), and the jack can be used to winch your vehicle free. It’s exerting and can be dangerous, so it’s best that you pack along some practice with this setup as well. The HiLift folks have a good YouTube video that instructs on the process.
I carry a LiftMate as well, a device that attaches to the jack and lifts the vehicle by the wheel. This allows access underneath the wheel to backfill its hole and reestablish traction. Higher up the extraction foodchain is a winch. While much can be said here on make and model, synthetic lines and fareleads, I’ll leave this at the fairly obvious; make certain your winch is rated beyond your gross vehicle weight.
The most important tool in your traction/protection/extraction arsenal, as I’ve hinted to along the way, is your experience. Practice. Play. They’re one in the same if you’re an offroad enthusiast. If you wait until you’re stuck with your family in a ravine during a summer monsoon with the threat of a flash flood, I believe your level of panic and frustration in not being adequately geared and rehearsed will inhibit your egress and increase risk. Knowing the limits of my bonestock rig and modifying to establish new ones reduces risk and puts Mother Nature on more agreeable terms.
Find more by Eric @ http://corneringconsciousness.blogspot.com